What are Field Papers?
As this set of tutorials demonstrates, there are many ways to collect data for use in mapping. For most circumstances a smartphone or a GPS unit will provide connectivity in even the remotest of places but each has its limits. This is where field papers can fill the gaps. Using simple pen and paper, you can quickly draw points, lines, and polygons then upload them to a digital format by simply taking a picture of your drawing.
Field Papers, which was created by Stamen Design and is the update of a tool called Walking Papers, allows us to print a map of a selected area, draw on it, add notes to it, and then open it in an OpenStreetMap editor like iD to digitize the drawing.
How do Field Papers Work
 When you print a Field Paper, the paper comes with a square QR code on the bottom of the page. This bar code allows Field Papers to determine the exact location of the map that you are using to survey. Later, when you load the paper back into JOSM, all the objects that you drew will be in shown in their actual locations, or at least quite close, which is good enough for us.
Using Field Papers
Create your paper atlas:
Locate the area you want to map on the Field Papers website. Print out a map of this area. You can choose to print the current map of the area with OpenStreetMap, or you can choose to print aerial imagery, if it is available in your area.
- Open your web browser – this may be Firefox, Chrome, Opera, or Internet Explorer.
- In the address bar at the top of the window, enter the following text and press Enter: https://fieldpapers.org/
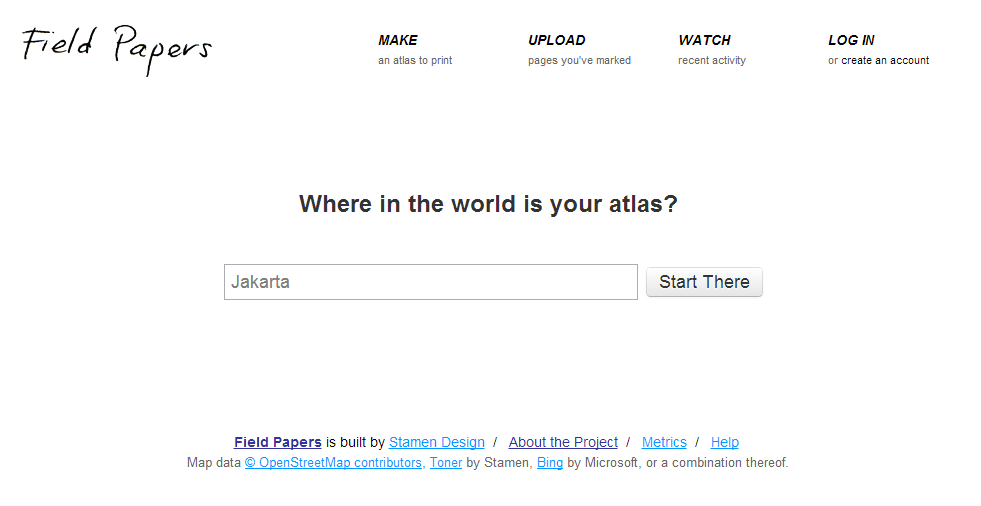
- The website should look something like this:

- Click on “Make yourself an Atlas.”
- Enter a place where you would like to print out a map, and press Enter. Here we will search for “Jakarta.”
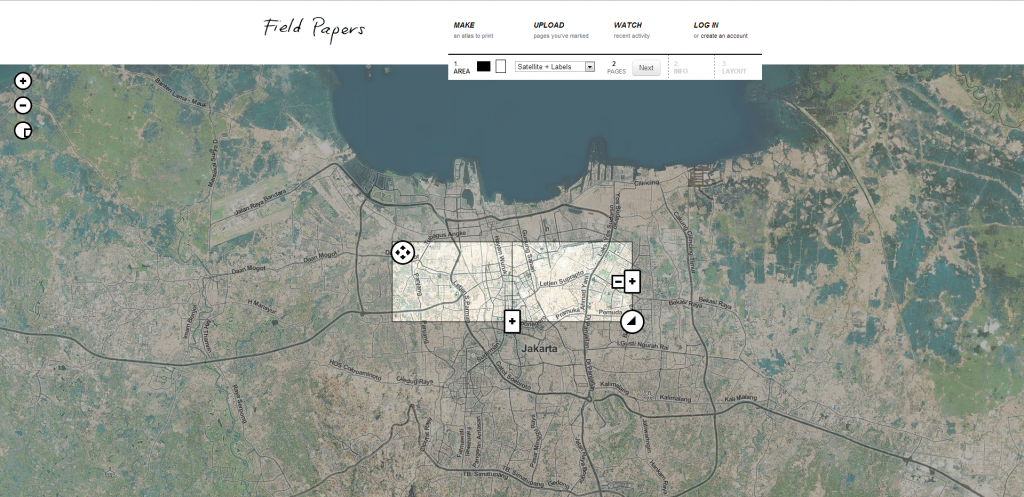
- Now you are presented with an interface where you can define the boundaries of your Field Papers. The map that you see shows the area that you would like to print on paper. You can print multiple pages, zoom in and out, and drag the papers to cover specific boundaries on the map.
HINT: Zoom In!
Field Papers work best when you are at a very local (high-zoom) level. Since the details in the map are much greater at the local level you can create more accurate drawings. If you print out a page with most of the city in it, you can really only make general features.
Customizing the printed atlas using the following buttons:
The box below is what you will use to determine the size of your atlas including the number of pages and what map features will be printed on each page. Click on the various buttons to see what each does
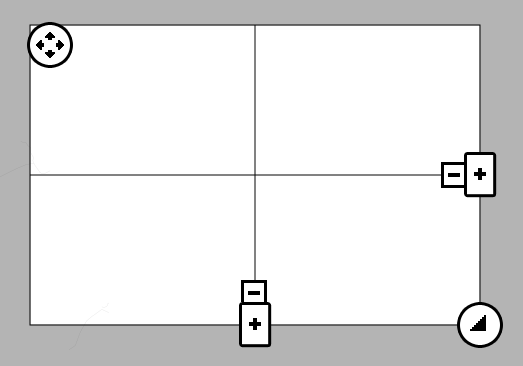
![]() . To add or subtract a page, we can click on the + and – buttons on the map.
. To add or subtract a page, we can click on the + and – buttons on the map.
 Expand or decrease the area of the papers by dragging the button in the lower right corner.
 You can move the paper by clicking and dragging the button in the upper left corner.
You can adjust the paper orientation and type of map using the controls at the top. If you are in an area without much OpenStreetMap data, consider choosing the satellite imagery

- When you’re finished, click “Next.”
- Now you can give your map a name, and if you want, you can add notes to be printed on the map, such as questions you want to remember to answer or specific places you want to identify. After you fill out the form, again click “Next.”
- Finally choose your layout. You can indicate whether you want pages only for your maps, or if you want notes on the same page. If you choose the notes option, then half of your page will be left for taking notes, and the other half will contain your map.
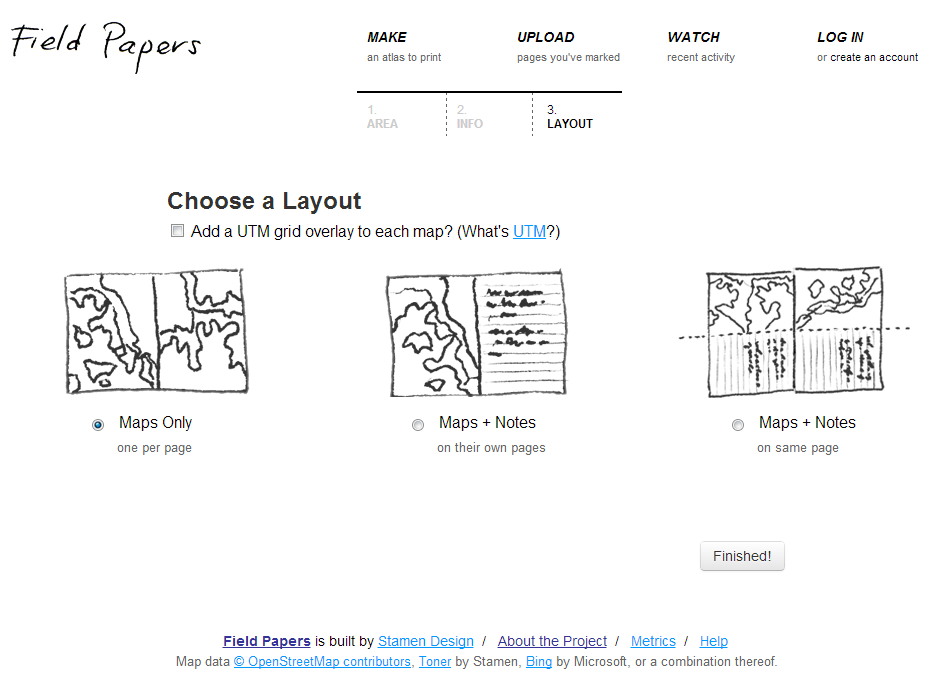
- Notes can be useful for adding place names or other notations that you can add when you digitize your hand-drawn map.
- It may take a few minutes to prepare your Field Papers.
- When your print is ready, scroll to the bottom and click “Download PDF.” The Field Paper should begin downloading. If it loads in your browser, you may need to save it by going to File -> Save.
- When the download is finished, open the PDF file. Connect your computer to a printer and print the page. If everything goes well, you should now have your map printed on paper.
Drawing Maps with Field Papers
- Take your Field Papers outside, and use it as a guide to walk and identify new places that are not on the map.
- You can also work in a team with Field Papers. If you print our many atlas pages, you will also see a page that looks like this:
- The grid on the front page of your atlas lets you know how each individual paper fit together. If you want to cover a large area it is helpful to work as a team. Each person or small group can take one page and fill out information for just that area. At the end of the day, everyone can meet up and upload their pen and paper edits online to synthesize the work of the group.
- Draw lines for roads, shapes for buildings, and so forth. Write notes about each location directly on the map, or write numbers on the map that relate to numbers in your notebook, where you can write more detailed information about each feature.

- When you are satisfied with your additions on the paper map, then you can add them digitally into OpenStreetMap.
Scan and Upload
- Field Papers are very useful for mapping with nothing more than paper, but they are not 100% magic. We will still need to upload our paper to FieldPapers.org, add our information digitally, and save our changes on OpenStreetMap.
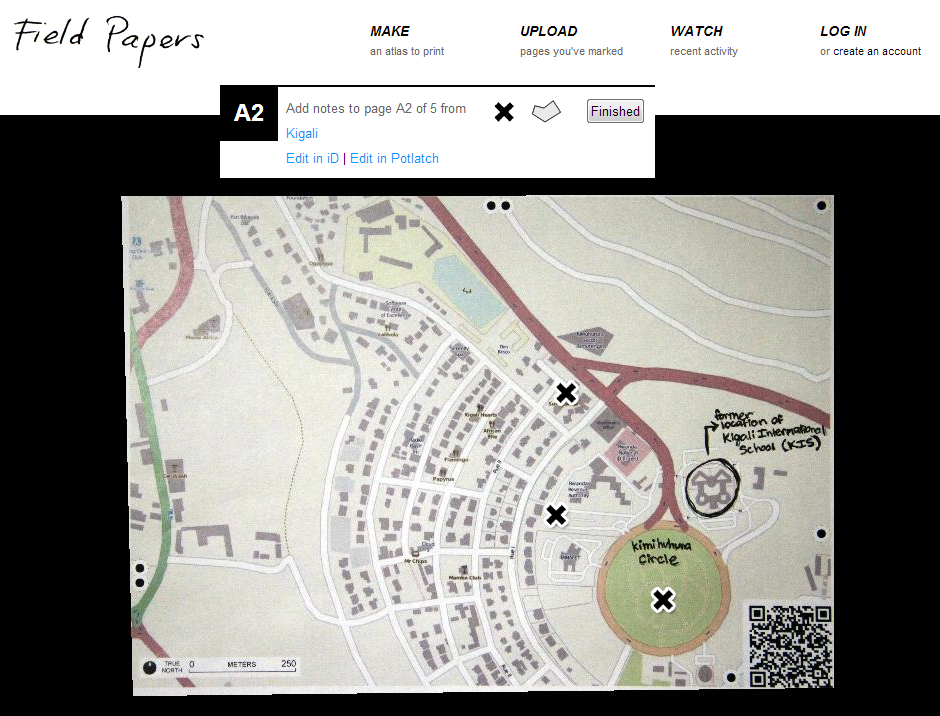
- The first step is to scan your Field Paper into your computer. You can do this by attaching a scanner to your computer, scanning the paper, and saving it as an image file. If you don’t have a scanner, you can take a photography of the paper, but you should be carefully to take a very good photo. Make sure that the paper is flat and your camera is directly in front of it. Be sure to include the QR code in the image, as Field Papers will not work without it. Here is an example of a scanned/photographed image:
- Once you have your Field Papers scanned and saved on the computer, open your web browser and return to https://fieldpapers.org/, just as before.
- Click on the “Upload” tab at the top of the page.
- Click “Choose File” and navigate to the file where you scanned/photographed your Field Papers.
- Click “Upload.” It may take a few minutes for your paper to upload, depending on the speed of your internet connection.
- At this stage, you’ll be able to add additional notes to your Field Paper in digital form. The simplest way to do so is the click on the “Edit in iD” link.
Congratulations!
In this tutorial you learned the process of using Field Papers and how they work. You learned how to print, map, and scan a Field Paper. Next, you can use iD editor to add the places that we mapped into OpenStreetMap. Check out the next tutorial and you will have learned the complete process.