The DustDuino is a customization of Arduino designed to help makers create low-power, highly customizable sensor projects. By basing the system on Arduino, the DustDuino can use “out of the box” block of code to program the device to do a number of tasks. Those blocks of code are known as libraries. For more information and background on Arduino, visit the free Intro to Arduino guide.
The first step in preparing the DustDuino is to download the Arduino IDE on to your computer. IDE stands for “Integrated Development Environment.” This is the software needed to directly program the board. You can download the latest version of the Arduino IDE for your operating system.
The DustDuino currently supports 3 different configurations for sending and/or storing the data generated by the dust sensor. All of the custom code needed to process, transmit, and store particulate matter data is available for download on the DustDuino website ,the OpenDustMap GitHub repository, or from this tutorial.
These programs are referred to as a “sketches,” and each configuration recipe listed below corresponds to a sketch available to download and install on your DustDuino. Sketches that are built inside the Arduino IDE may be saved with the “.ino” file extension.
Read dust levels directly on your computer
Making sure that your DustDuino and the dust sensor are communicating properly is an important first step before setting setting up other configurations. The DustDuino board comes pre-loaded with the following sketch so you only need to programming the following steps if you’re using another Arduino compatible board.
Download DUSTDUINO Serial Sketch- Attach UartSBee programmer to DustDuino
- Attach UartSBee to computer using USB cable
- Open the Arduino IDE
- Find and select the correct serial port where your DustDuino and UartSBee
are connected - Open the DustDuinoSerial sketch in the Arduino IDE
- Compile the DustDuinoSerial sketch and upload to the DustDuino
- Open the serial monitor to watch the output from the DustDuino
To visualize data copy your dust readings and paste into a spreadsheet program, such as Microsoft Excel or Google Sheets, to save and graph your dust readings.
Log DustDuino readings on an SD card
Download DUSTDUINO SD Card Sketch
- Attach UartSBee programmer to DustDuino
- Attach UartSBee to computer using USB cable
- Program DustDuino with the SD card sketch using the UartSBee
- Attach SD card shield
- Attach dust sensor
- Insert SD card
- Power with 5 volts
Transmit DustDuino readings over the internet wirelessly
The DustDuino can be configured to connect with wireless networks, so that it can send data to remote servers, which can then store and visualize the data.
To use the DustDuino to connect and transmit data over a wireless network using, some setup of the wireless module is required. The advantage is the DustDuino can be set up and as long as the network remains the same, it will stay connected. The Xbee wireless module, not the DustDuino microcontroller chip, does the vast majority of the work when it comes to connecting to networks and sending data.
Set up a Wi-Fi Connected DustDuino
Download DUSTDUINO WiFi Sketch- Make sure the UartSBee is in both programmer mode and is set to provide 5 volts
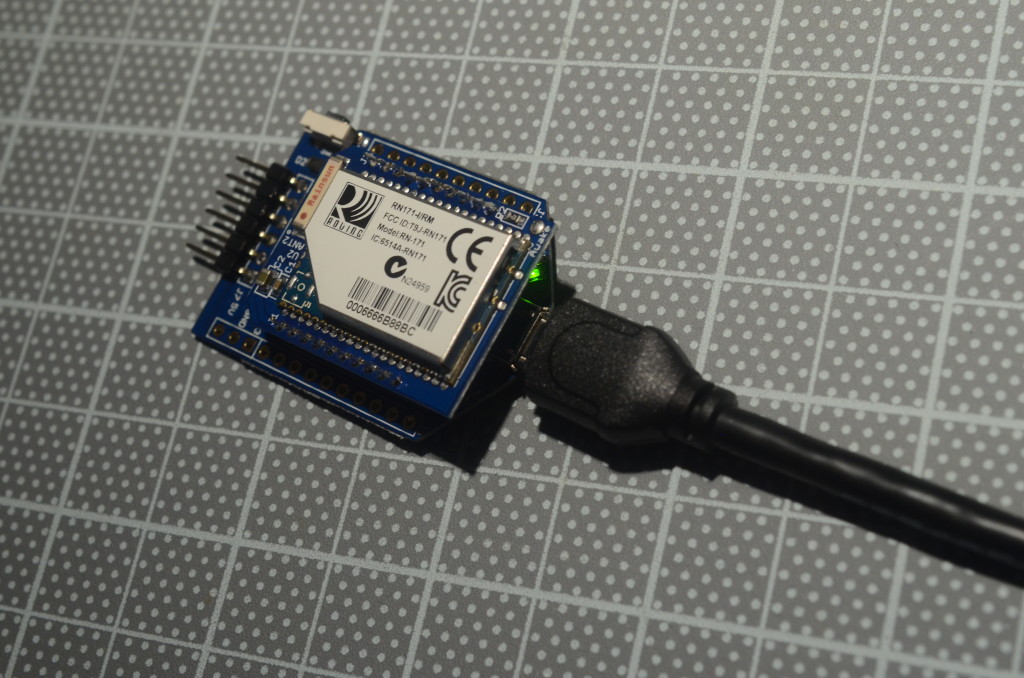
- Attach the RN-XV to the UartSBee programmer, and connect the UartSBee

The switches are at the bottom of the UartSBee.
programmer to your computer using a USB cable.
- Launch the Arduino IDE, and locate the correct serial port.
- Once the correct serial port is designated, open the serial monitor.
- Select “no line ending” in the serial monitor
- Enter “$$$”
- RN-XV will respond with “CMD”
- Change serial monitor to “carriage return”
- Send “set wlan ssid <id>” (when entering your network’s ID here, substitute
any spaces with the character “$”) - Send “set wlan phrase <phrase>”
- Send “save”
- Send “reboot”
The RN-XV should return something like the following:
If the red LED on your RN-XV disappears after the reboot, congratulations! You’ve connected to the network. Now, time to load the actual sketch for your sensor node or what have you:
- Exit the Arduino IDE
- Unplug your UartSBee from the computer
- Detach the WiFi module from the UartSbee
- Program the DustDuino board separately by installing the WiFi DustDuino
sketch - Attach the the WiFi module and dust sensor to the DustDuino board
- Plug DustDuino into 5V power source
- Enjoy!


